
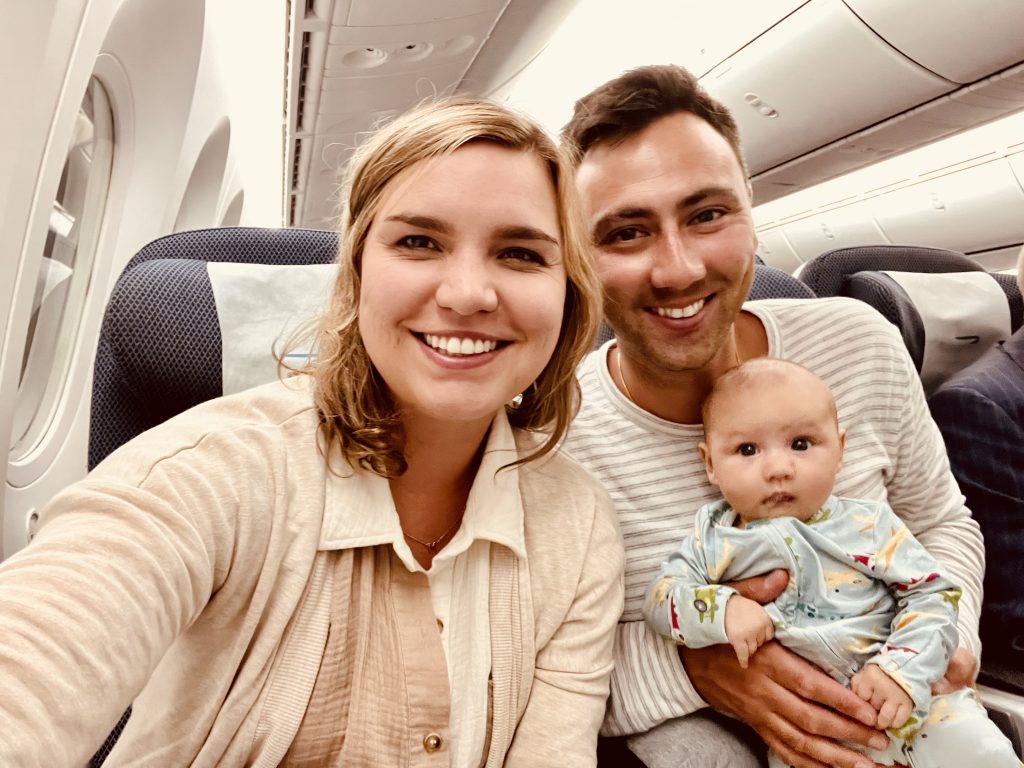
Booking an International Trip with Your Under 2: Steps to Securing Baby’s Passport, Pre-Check Status & Plane Ticket
3/26/24
If this is you, bravo! You’re doing it! This experience is going to be amazing, and I’m here to make your life even easier by giving you the steps required to get baby’s passport, pre-check status and plane ticket sorted before you head to the airport on Travel Day.
STEP 1: GET BABY’S PASSPORT. Traveling internationally means you and your baby each need a passport. In order for your baby to get a passport, you need their original birth certificate on hand when you go to the passport office to submit with baby’s passport application.
- If you’re expecting (like I was with Sofia before we went to the UK) and, therefore, do NOT have baby’s birth certificate yet, you’ll want to do a couple things in advance of baby’s arrival to make applying for their passport as quick and easy as possible. (We had 2.5 months from the day Sof was born until we boarded our plane to London to have her passport in hand!)
- FIRST, let the hospital know you need baby’s birth certificate information sent to the applicable health department responsible for creating baby’s birth certificate ASAP after baby makes it earth side. If you don’t do this, you could be waiting up to two weeks for the hospital to send this information to the health department. A couple week’s before Sofia’s arrival, I called the hospital’s operator and they transferred me to the hospital department responsible for this and I got it all organized in advance. Someone from the department came to my room during our hospital stay and once all the information for the birth certificate was confirmed by us, they sent it off to the health department that day.
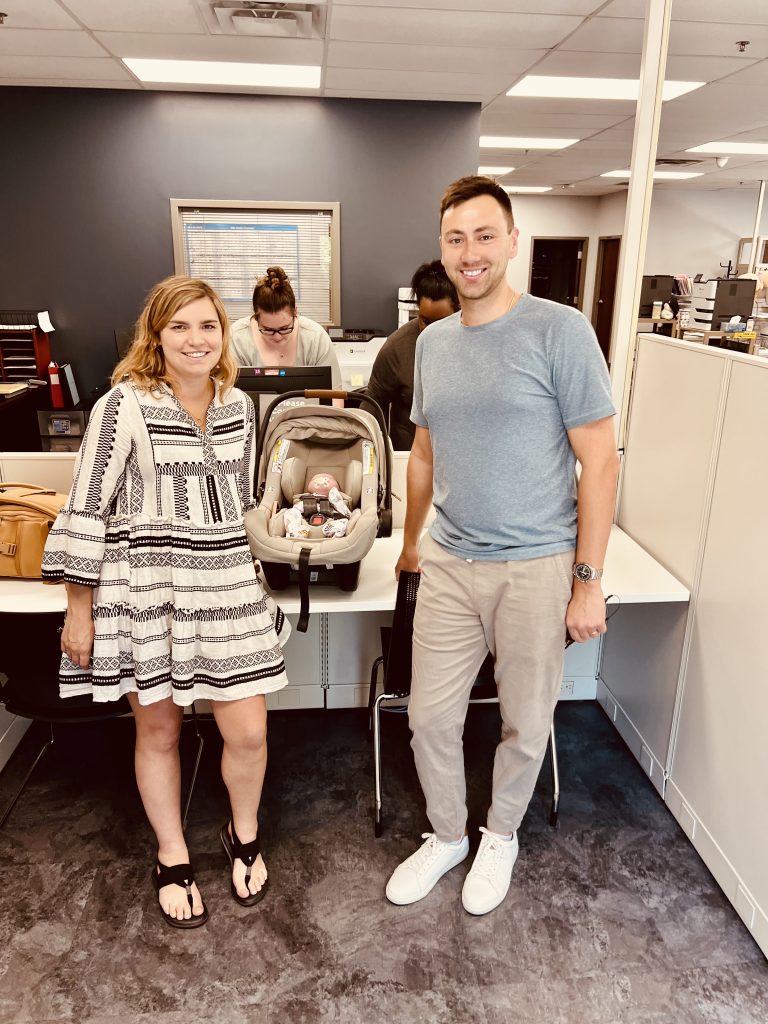
- Our situation: Sofie was born on 5.1. We were discharged on 5.3. We were in the passport office on 5.5 with her original birth certificate and passport application in hand to be sent in. We stopped by the health department on the way to the passport office and paid for/picked up several original birth certificates.
- SECOND, get the passport application in advance and fill it out according to the passport office’s instructions. In Ohio, you’ll go to a Clerk of Courts office to obtain the application. I recommend physically going into an office and speaking with someone so you understand exactly how to fill out the application and they can tell you what the fees are. Regarding fees, you may have to write a check, so you’ll want to know this in advance so you bring your checkbook with you on Application Day!
- Pro tip 1: Take a couple copies of the application so that in the event you fill out a section incorrectly (like we did), you have a backup. No white-out or cross-outs allowed.
- Pro tip 2: If there’s any chance only one parent can go on Application Day (custody arrangement, one or both parents can’t go), you’ll want to also get a Statement of Consent form to fill out. This form must be signed in the presence of a notary in advance and submitted with the application on Application Day.
- Here is a link from the U.S. Department of State regarding the U.S. passport process in general: Apply for a Child Under 16
- FIRST, let the hospital know you need baby’s birth certificate information sent to the applicable health department responsible for creating baby’s birth certificate ASAP after baby makes it earth side. If you don’t do this, you could be waiting up to two weeks for the hospital to send this information to the health department. A couple week’s before Sofia’s arrival, I called the hospital’s operator and they transferred me to the hospital department responsible for this and I got it all organized in advance. Someone from the department came to my room during our hospital stay and once all the information for the birth certificate was confirmed by us, they sent it off to the health department that day.
- If you already have baby’s birth certificate or once you do, simply head to the passport office and submit baby’s application with his/her original birth certificate.
- Both parents present. Both parents need to be present to sign and submit baby’s passport application at the passport office. See above if one or both parents can’t attend.
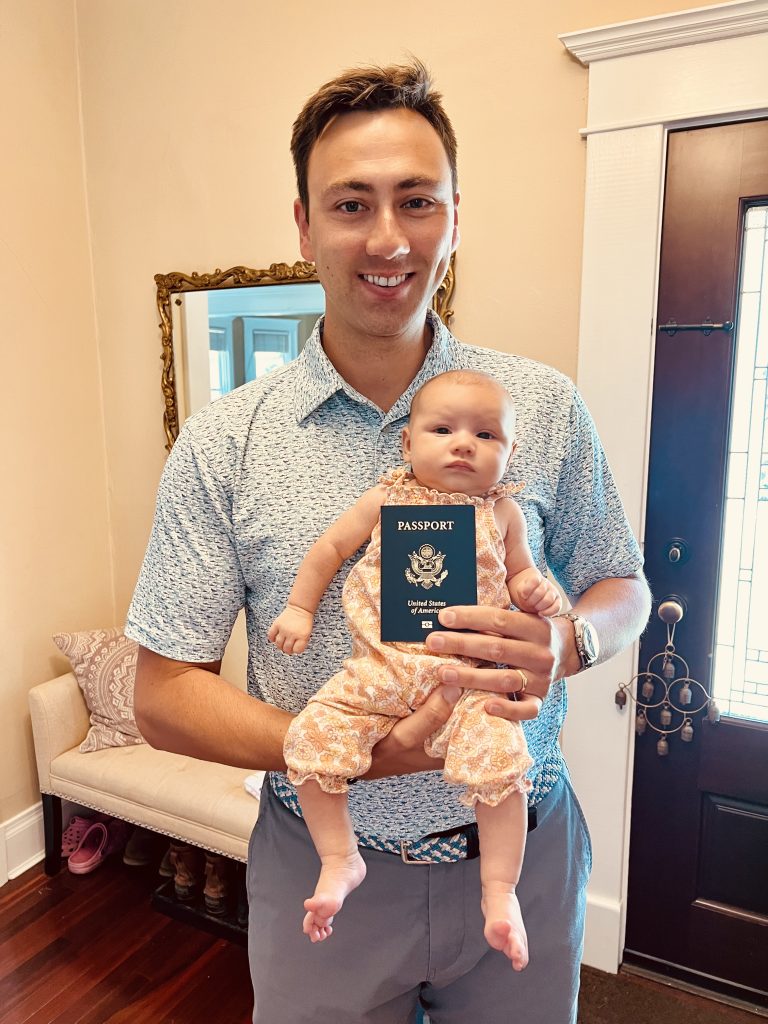
- Baby’s photo. They will take baby’s passport photo at the passport office. For the photo, DO NOT put baby in anything all white (the background is white) nor in anything with words on it. A patterned top is fine, but nothing with text. It is fine if baby is asleep during the photo. If baby is asleep in his/her car seat, bring the car seat into the office and they will put a white sheet behind baby and take his/her photo in the car seat! This is what they did for Sofia’s photo.
- Fees. Bring your checkbook and multiple different credit cards. Pay to get the passport expedited, even if you have “plenty of time” until your flight. It’s worth the peace of mind to have it way in advance! After all, you aren’t taking baby on this trip without his/her passport.
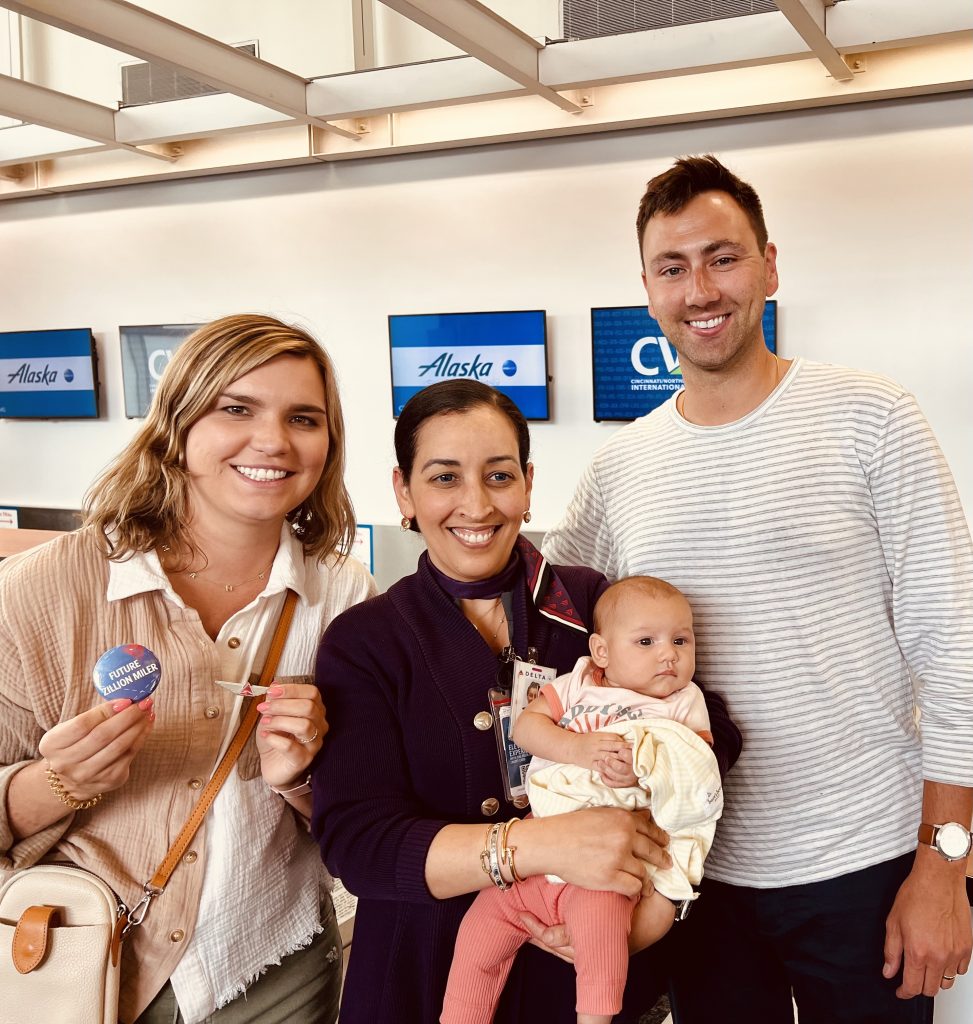
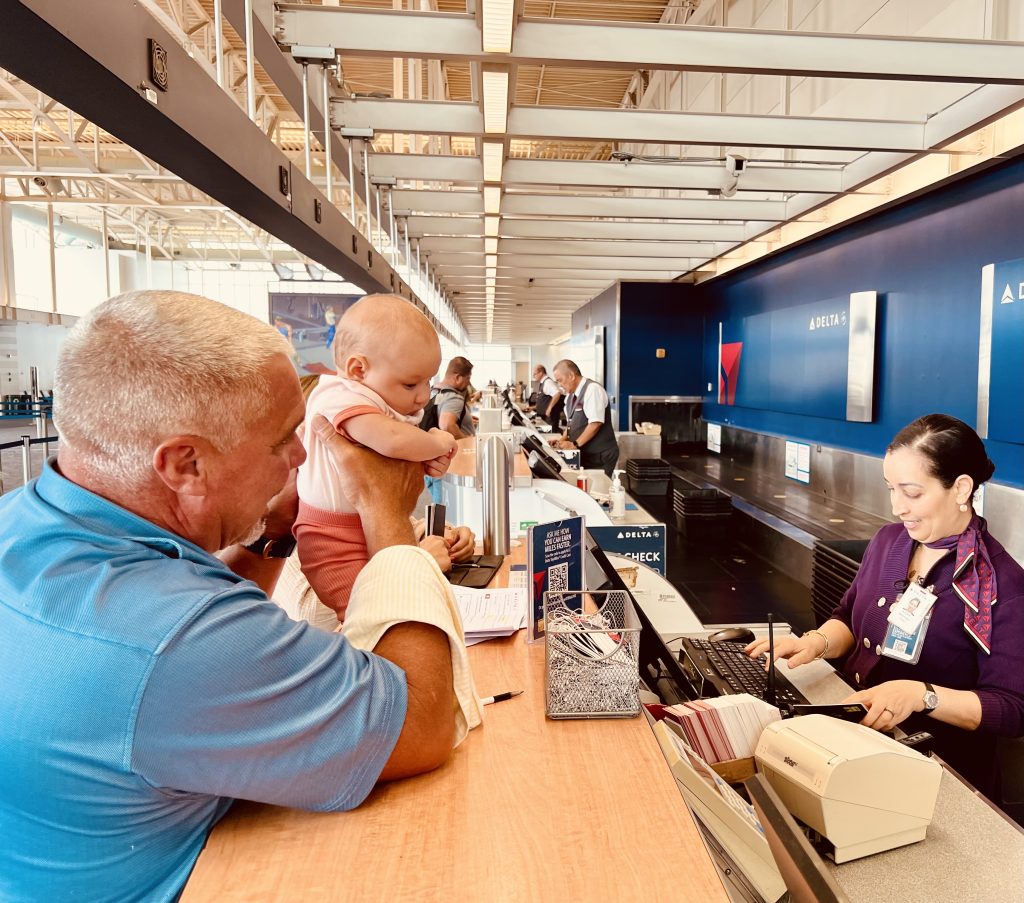
STEP 2: APPLY FOR BABY’S PRE-CHECK STATUS. This is only applicable if you have pre-check status yourself. So, if you have it, you’ll go through the same process you went through to obtain your status. Here’s the link if you forget the process: Trusted Traveler Programs
- Our situation: We totally forget/didn’t think we needed to get Sofia pre-check status before our trip. We had no issue getting to the UK, but we were stopped in customs coming back and were almost sent to the back of the “regular” line because Sofia didn’t have her own pre-check status. Thankfully, my “mom voice” worked on the pre-check line Border Agent and he let us through.
STEP 3: GET BABY’S PLANE TICKET. Baby doesn’t needs his/her own seat until age 2. So, baby’s status on the plane is referred to as “infant in arms,” aka baby is on your lap.
- If you’re expecting, go ahead and book your plane ticket whenever because you can add baby easily once he/she arrives. You do NOT have to wait for baby to be here before you book your flights, nor should you!
- When booking baby’s ticket, you’ll select “infant in arms” and you’ll only pay the taxes for baby’s ticket. Make sure to add in baby’s pre-check status number when booking!
- Pro tip: Go ahead and also get baby a “frequent flyer number,” but know that baby isn’t able to accrue any points on that number until they have their own seat, which isn’t until he/she is age 2. Get the number now, though, while you are doing all this leg work so it’s in the airline’s system for the future.
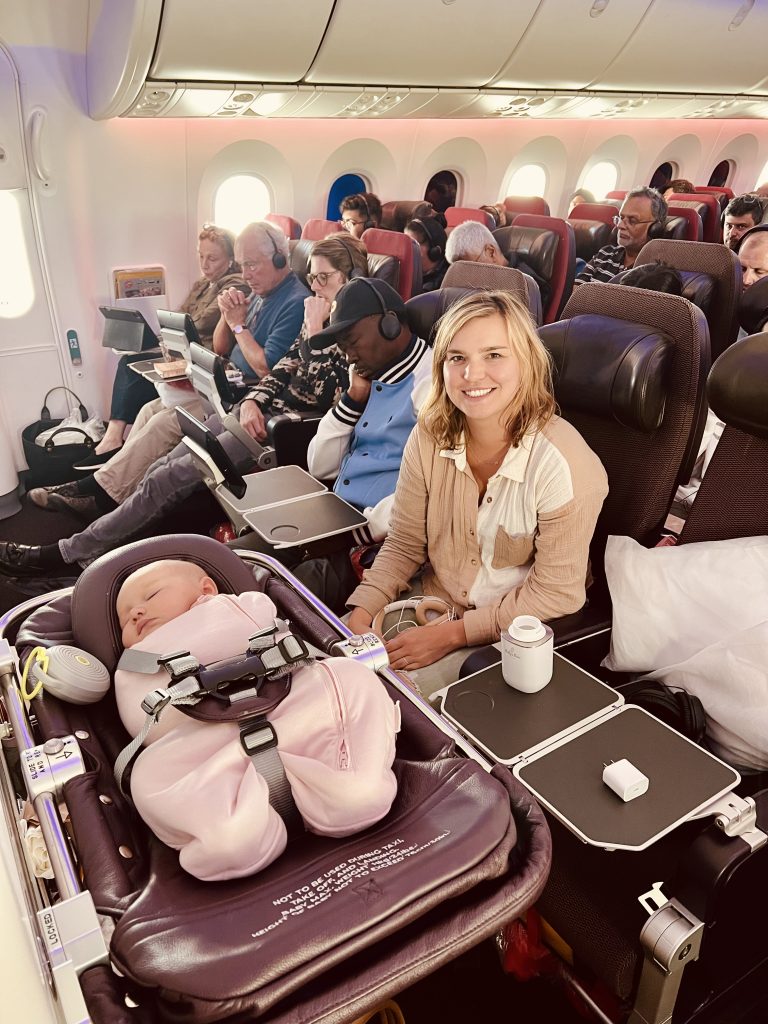
STEP 4: CALL THE AIRLINE TO BOOK AN INFANT BASSINET FOR THE INTERNATIONAL FLIGHT. For most if not all airlines (I’m most familiar with Delta), you’ll call customer service to book an infant bassinet two weeks prior to your flight. There are only a few bassinets available on the plane, so if this is a priority for you (which it will be), you’ll want to make sure this is locked up. They may have to rearrange where you are seated because you’ll be in a first row seat of that section. See Sofie sleeping in her bassinet below:
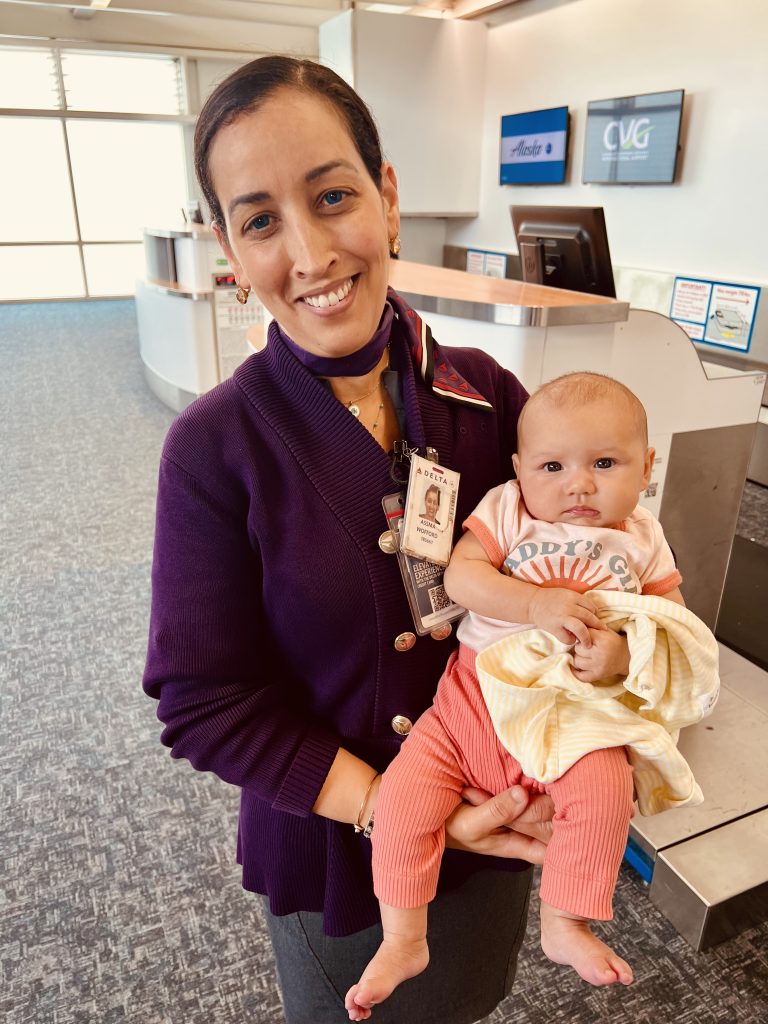
STEP 5: GET TO THE AIRPORT ON TRAVEL DAY WITH PLENTY OF TIME. You’ll need extra time to check in, go through security and get baby sorted. The sooner you arrive, the more time you have for that pre-flight cocktail!
- Notes regarding baby’s “stuff” (luggage, stroller, car seat, food, etc.):
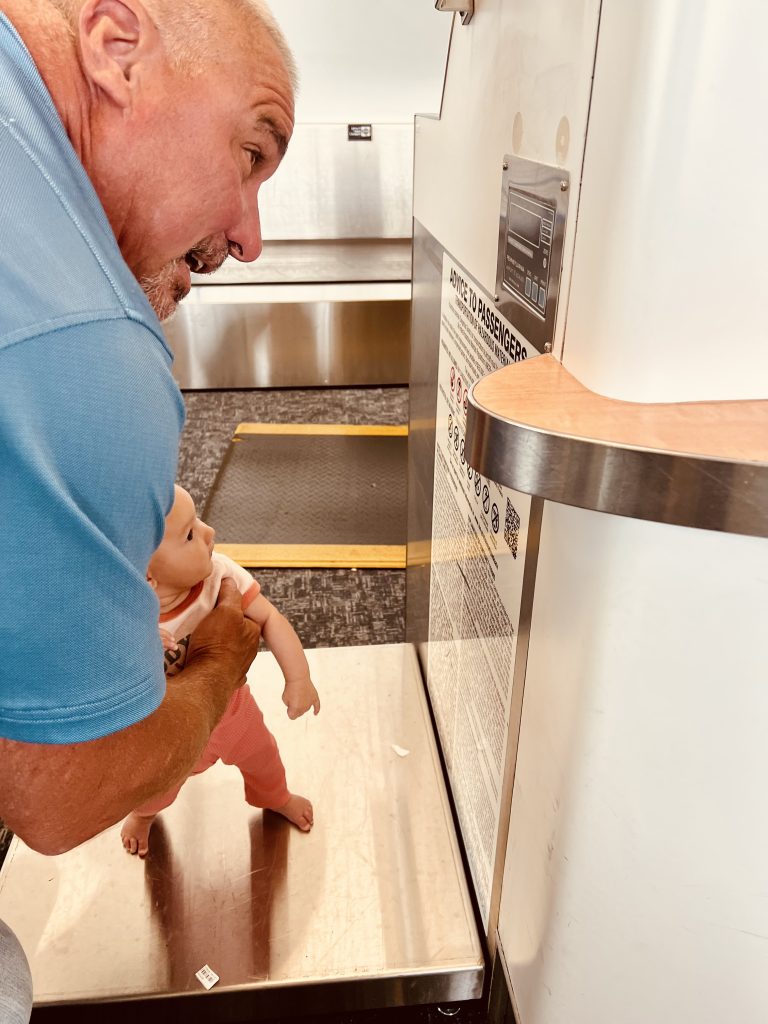
- Since baby doesn’t have a ticket, baby’s baggage allowance is your baggage allowance. So, if you can check two bags, you can check one for you and one for baby. Otherwise, you’ll pay for baby’s bag as extra.
- The stroller, car seat/booster seat and diaper bag are all FREE and do not count towards your baggage allowance. You can gate check these items, which I would recommend so they don’t get broken traveling through the airport to the plane. Plus, you’ll want to use the stroller through the airport.
- You can bring the following items on the plane for FREE: booster seat or other infant seat and breast pump & associated cooler bag.
- The liquid issue doesn’t apply to babies, so if you have a bottle already made up you don’t have to dump it. TSA will test the liquid and/or formula at security, so have these items ready to present!
- Here are Delta’s rules regarding these items: Children & Infant Items

Now that you have the 411 on booking an international trip with your under 2, DO IT! If you need proof that traveling with your under 2 is worth it and want some recs on products to buy, see my blog post about our UK trip with Sofie. And you’ll also want to read my top five tips for traveling with your kids in this blog post.
Now, off you go. Happy travels 🙂


